

This article is a free excerpt of the tutorial written by Francesco Farabi about the painting of the boxart of Anubis.
You can find the full 48 pages tutorial here: https://pegasoworld.com/product-category/tutorials-shop/bellerofonte-tutorials/
You can buy the Anubis model here: https://pegasoworld.com/product/anubis/

The airbrush

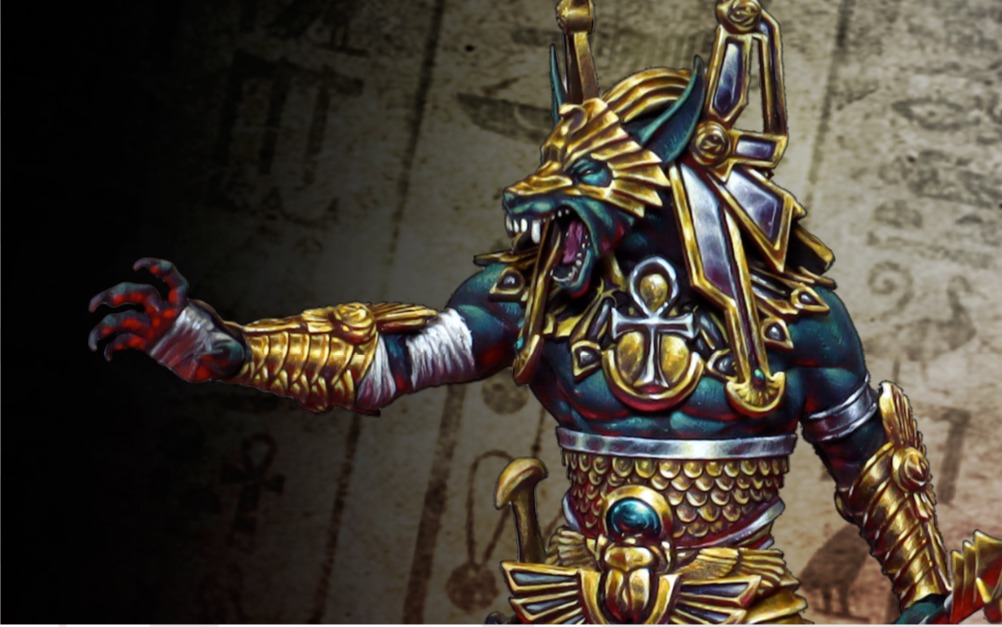
So the time has come to return to our Anubis: do you remember that I was telling you that the dominant contrast is not the red-yellow one but rather the red-green one? [in the previous pages of the full tutorial]
Exactly, wanting to enhance the pure red of the light that comes from below, I modulated the whole piece on the variations of green: gold is greenish, the skin is a dark desaturated and cold green, the gems and decorations are turquoise (which is a blue shifted to the green or a green
shifted to the blue), even white is greenish.
The only two parts that do not have a greenish tone are the purple of the robe and the ?blue gray? sphinx. But they are still cold colors that therefore maintain the general contrast, in addition purple is the complementary of yellow and therefore of the gold.
Now you?re probably wondering if all these reasoning was made before painting: the answer is yes and no. Painting is basically a flow without solution of continuity where thought and hand exchange continuous opinions; so if yes, on one hand I had a pretty clear idea of what I was going to paint, on the other hand some things arise as the colors are going on the piece and then the thought adjusts the running hand.
What happens within us is that a theoretical and practical project becomes a single creative process that is at the same time structured and instinctive.
Remember that the technique is nothing but tamed and repeatable instinct. But in short, Francesco, will you take the brush in your hand or not?
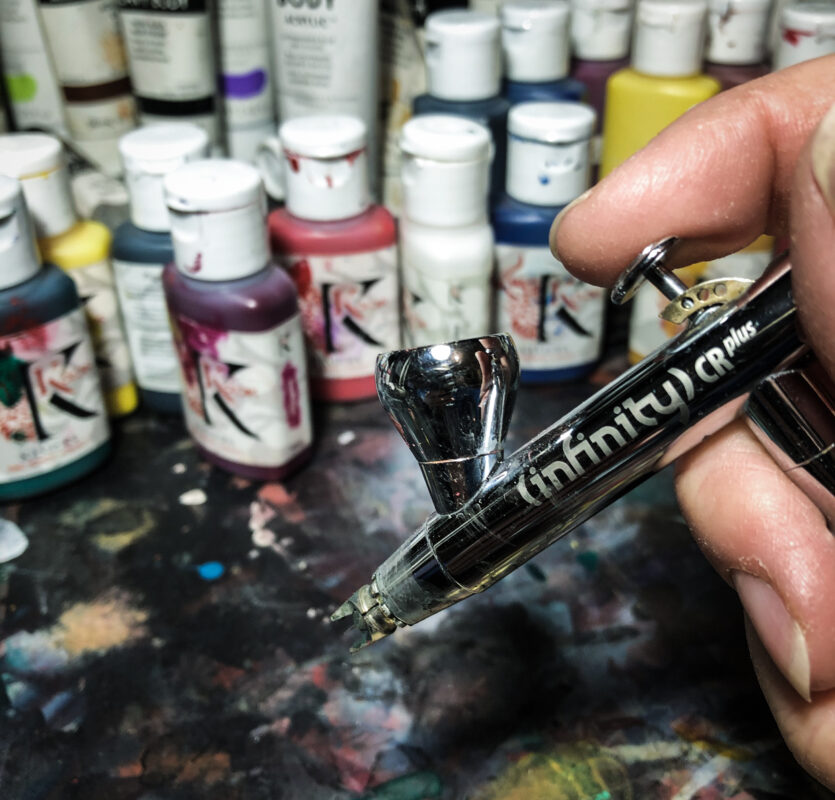
Actually not yet? first I take the airbrush.
Setting up the model
I have never been very skilled in the use of the airbrush, so I am certainly not the right painter to reveal its most hidden secrets, also because the use I make of it is technically very basic but has become incredibly important in my style for two reasons:
1) the airbrush let you immediately see the volumes of the piece, helping me to bring out the figure, to give it shape.
2) The airbrush helps me to give the chromatic mood of the scene, that is, puts into practice, sketching on the piece all the reasoning that we have done so far.

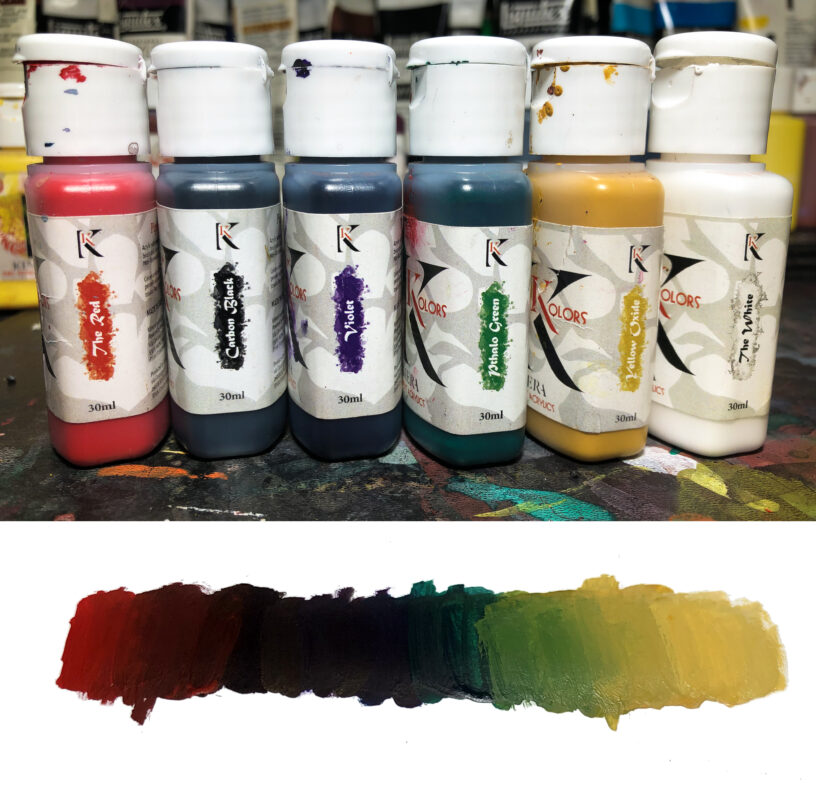
Before starting a note on colors: this piece was painted entirely with the Kimera Kolors, this means that all the colors I will refer to are part of the Kimera base set.
Kimera Kolors themselves are pure colors with no strange name that makes them difficult to understand, but at the same time they have the characteristic of not being able to be replaced by other colors unless they are pure pigment (only some artist colors are).
So throughout the article I?ll always refer to Kimera Kolors names.
Note on the primer: in this piece I did not use a primer to give the black background, but a black Kimera Kolors. Beware though, it is not the normal black currently on the market, but a revised version in beta testing, which is in fact the exact same color same pigment and concentration, but with features that make it more durable and adhesive, so more suitable to be used as primer as well. Well, he did his duty perfectly.
Once the beta test is finished, this version of the black will be introduced commercially and replacing the current one. Attention! If you have the current black Kimera, it has no problems! It?s a perfect color.
It is simply not suitable to be used as a primer, because it may be too weak to be used as a primer as are almost all normal acrylic colors. It?s a simple plus, which you?ll soon see on our shelves online. (The name of the new Black will be Carbon Black +, if you have this bottle it means that in the meantime it was released to the public).
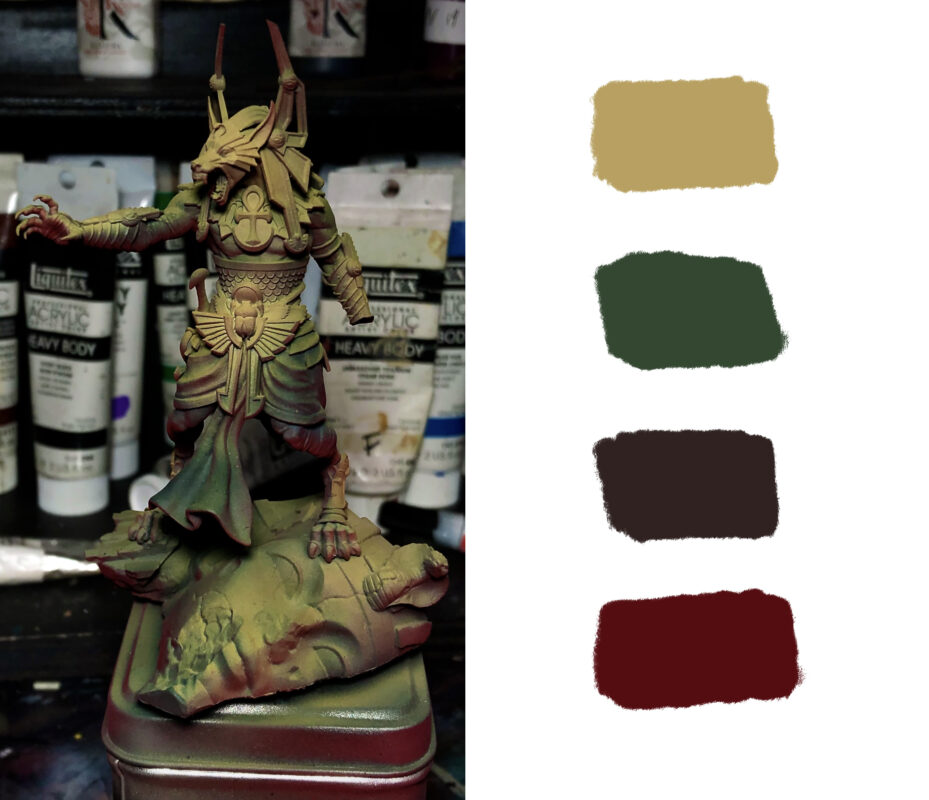
And now let?s start working: I started giving a general base of black, I went up with the lights adding phtalo green and yellow oxide, I then added more and more yellow oxide and white, covering small area as I went up in light and increasingly concentrating the spray of the airbrush from the direction of the light.

I try to explain it better: let?s imagine for a moment that we have to paint the piece simply from black to white. I will spray the black everywhere, then I will go towards a dark gray and instead of spraying it everywhere, I will focus on the whole part exposed to the light (to understand this better: I will not flip the piece to spray it from below). Going forward with the lighter color I will start to spray in a smaller cone and focus it more and more to the focal points.

Returning to the colored version the principle is the same, but I will also have to check the tone: at some point you cannot go up with the lights using only the yellow oxide, this because the kimera are pure colors not mixed with white and that would be necessary to ensure coverage and to lighten the tone.
The trick is to not overdo it and avoid inserting white too soon in the mixture, to avoid risking graying everything out. I Add I will add white when the tone is yellowish enough; in this regard I attached a short video explaining how to insert a white in the mixture (you can find this video only in the full version of the tutorial: https://pegasoworld.com/product/anubis-tutorial/ ).
Since this piece will still have to be decidedly gloomy I did not exaggerate with the lights, instead I kept it quite dark, with some spots in specific areas. Especially as you can see from the photo I focused the ?yellow? on the areas that I knew would shine the most because of the gold.
At this point if the work done is correctly we probably have an Anubis with dark shadows, with the lights contrasted from black to a slightly faded yellow oxide, going through the green.
In case you erased too many shadows (it can happen), just reload black (in this case with a little green) and spray it quite diluted from under the piece, this way the shadows will regain depth. Be careful, of course, not to stain the lighter parts!
After that I had to mark the red light! And it was done in the simplest of ways: I loaded the airbrush of kimera red (which is very violent) and sprayed it from below having the piece a bit away from the spray. As you can see the red has settled under virtually every volume of the miniature, more marked in the part near the legs and less and less in the upper parts.
My pictorial base is ready, I almost never use masking with the airbrush, because for me it is a true underpainting that will be completely covered in later stages.
Before finally moving on to the brush, one last note on the airbrush that is far from secondary: the airbrush saves a lot of time.
Since I use it I have spared days and days of painting. And for me as a professional, time is paramount? but it is for you too! Also because it leaves you freer to do the most beautiful thing when painting: REFINE.
If you liked this chapter and you want to get the full 48 pages tutorial with videos included, you can find it here: https://pegasoworld.com/product/anubis-tutorial/
Bellerofonte Studio
Bellerofonte Studio is the artistic studio behind Pegaso and Kimera Models. Beyond creating commissioned sculptures and paintings, it aims to create written and video tutorials in collaboration with the various artists that created the products for sale on the site. The goal is to ensure the highest quality materials on which to learn theory and practice in the various different styles of each author.
You can find find the Bellerofonte Studio tutorials here:? https://pegasoworld.com/product-category/tutorials-shop/bellerofonte-tutorials/